skip to main |
skip to sidebar
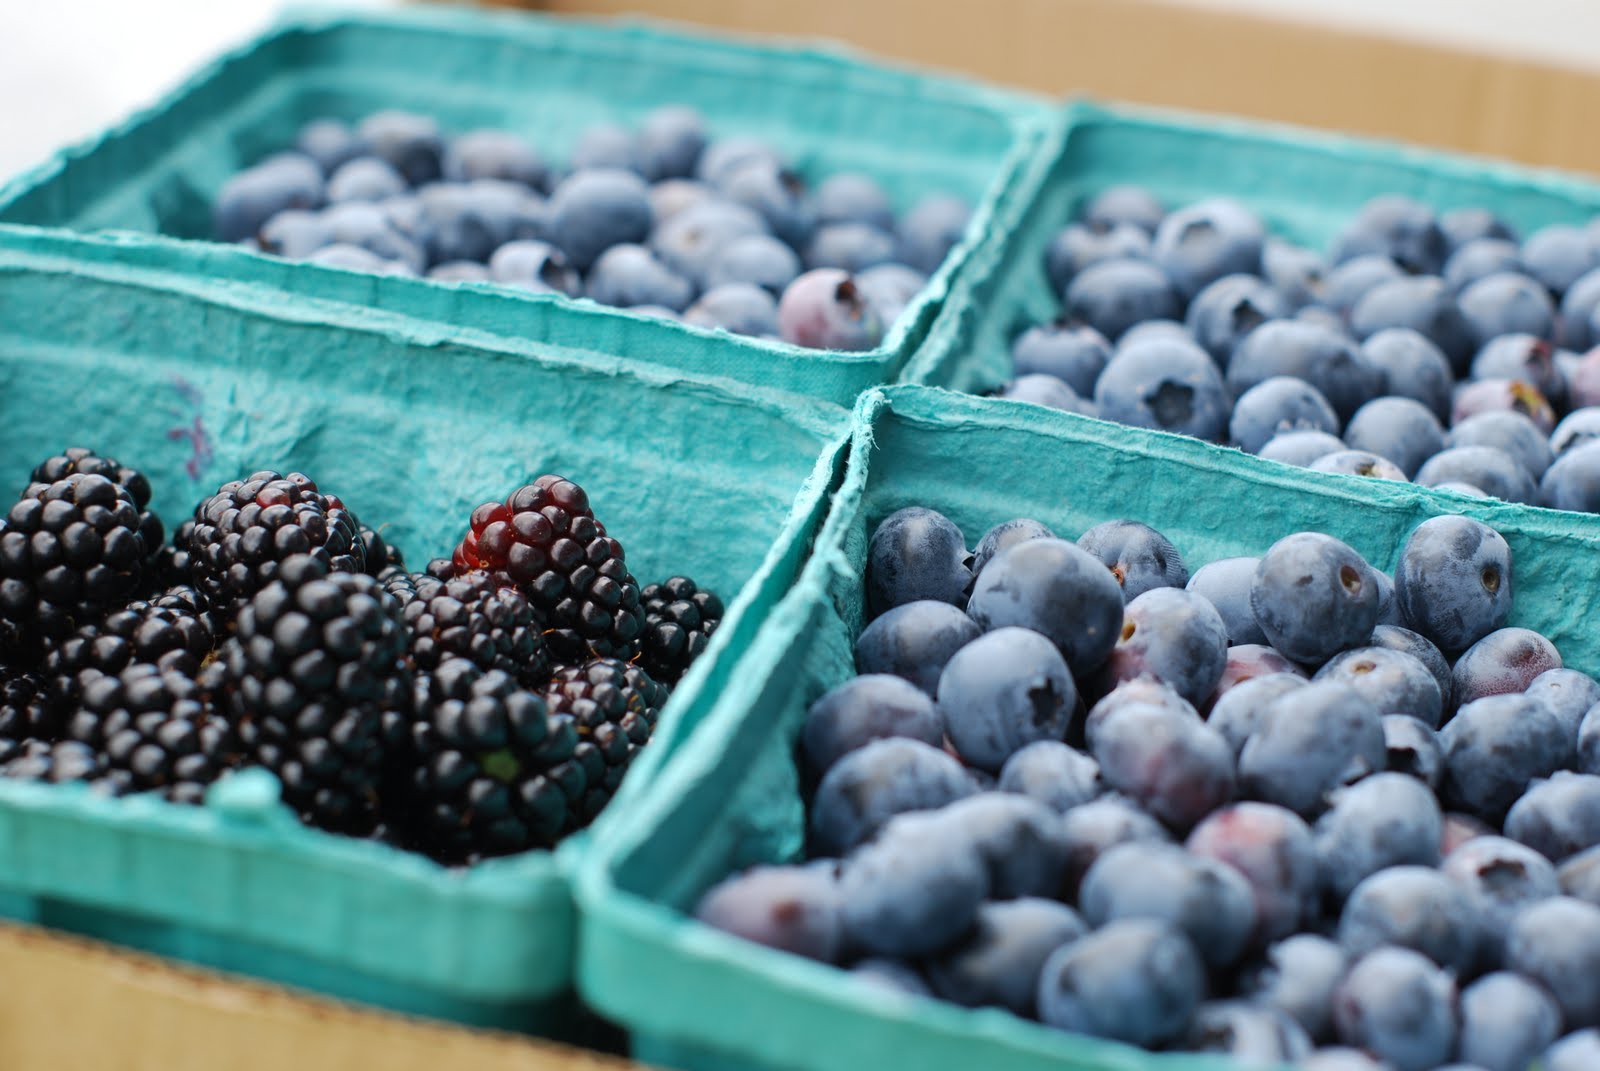
 My first attempt at a totally from scratch blueberry pie was a miserable FAIL. I tried to ward off liquid-pie syndrome by adding 2 extra tablespoons of cornstarch to the blueberry mixture (which was essentially, blueberries, sugar, cornstarch, cinnamon). This technique didn't work because the natural liquid from the berries took too long to combine with the cornstarch to help solidify the juices. In the end, it resulted in a liquidy, grainy disgusting mess.
 After the first fail, I realized that what I was looking for was a recipe that would give me the consistency of pie filling, like the kind you can buy in a can at the grocery store. I knew that I would need to cook the blueberries with the sugar and cornstarch BEFORE adding it to the pie crust.
 Everybody remembers that Google is my friend. The lightbulb went off and told me to Google "blueberry pie filling." One of the first results was a recipe from Recipezaar which had 5 stars and enough raving reviews that led me to believe that this was exactly what I was looking for.
 As you have probably already noticed, this recipe was a major success. I now consider myself a pie baking QUEEN. Ok, maybe not in a general sense. But a blueberry pie baking queen for sure!
 Now that we have the filling out of the way, I can tell you how I came to the most perfect homemade pie crust. The past from-scratch pies I've made I noticed that for my taste, the crust was never sweet enough. I don't like it sickeningly sweet, but just enough to complement the fact that it's a dessert. And for me, the taste of the crust is mega-important because the bottom crust is my ultimate favorite part of a pie.
 So I basically had two pie crust recipes I was staring at, one of which called for no sugar, the other of which called for 2 tablespoons. I knew in my heart that 2 tablespoons wasn't enough. Further disecting of the two recipes showed a different ratio of flour-to-shortening. I decided to go in between.
 And so here is my recipe for PERFECT PIE CRUST:
2 cups all-purpose flour, plus extra for rolling
4 Tbsp sugar (it's really the same as 1/4 cup, but it doesn't sound as bad :D)
1 tsp salt
3/4 to 1 cup shortening (and by this I mean I took a 1 cup measuring cup and didn't quite fill it up all the way, but to where I knew it was more than 3/4 cup and less than 1 cup)
1 egg
1/2 Tbsp white vinegar
3 Tbsp water
-----
1. In a large bowl, whisk together the flour, sugar and salt. Add the shortening and blend together with a pastry blender until it resembles coarse meal.
2. In a small bowl, whisk together the egg, vinegar and water. Add the egg mixture to the flour mixture and stir gently until it just comes together.
Tip: You may need to work a little extra flour into the dough as you're rolling it. I did, but I don't know how much. Maybe by adding 1-2 extra tablespoons of flour from the get-go would work, but at first, the dough just seems a little soft. Chilling might work well also.) And here is the recipe for PERFECT BLUEBERRY PIE FILLING
Source: adapted from Pastryismybiz via Recipezaar
2 pints (4 cups) fresh blueberries, rinsed clean
1 cup sugar
3 Tbsp plus 1 tsp cornstarch
2 Tbsp plus 3 Tbsp water
1/4 tsp cinnamon
1/8 tsp nutmeg
-----
1. In a medium saucepan add 1-1/2 cups of blueberries, sugar and 2 Tbsp water. Cook over low heat, gently mashing the berries, and simmer until sugar is melted and mixture is liquidy.
2. In a small bowl, mix together the cornstarch with 3 Tbsp water.
3. Add cornstarch mixture to berry mixture. Cook over medium heat until mixture comes to a boil and is thickened and no longer cloudy, 3-5 minutes.
4. Pour hot mixture into a bowl. Allow to cool to a warm temperature. Fold in remaining blueberries, cinnamon and nutmeg. Let cool before adding to pie crust. And to put it all together, you want to preheat your oven to 400 degrees. Reduce heat to 375 degrees when you put the pie in the oven. Bake for 40 minutes, checking midway through to make sure the edges aren't burning. If they're getting too brown, cover edges with foil. Let cool before serving.
 Ta-da! You should have a beautiful pie that you just can't wait to show somebody!
 Special thanks to the hubs for rolling out the dough and cutting my lattice strips! xoxo!
 I found this recipe in last October's issue of Cooking Light. It was a reader submitted recipe from Lorraine Fina Stevenski from Clearwater, FL. The concept of adding amaretto was so intriguing to me that I couldn't wait to try it. There's a brownie recipe I love, which uses boxed brownie mix, then you add amaretto to it. They're still the best brownies I've ever had. But alas, I finally just got around to making it. I tend to do that, save recipes for forever before getting around to trying them. But in last week's scouring of cookbooks and whatnot to find new ideas for dinner, I happened upon this dog-eared page.
 It's a shame it took me so long to get around to this recipe because good GOD are these things good! I wasn't expecting to love them as much as I do. I'm not generally a fan of add-ins to my cupcakes. I just like a mouthful of cake without any funny stuff. But because the apples are so finely chopped in this recipe, the apple just sort of becomes one with the cake. The result - a beautifully structured, moist, tender, PERFECT cupcake. My camera is having trouble capturing just how perfect these cupcakes are, but here's the best it could do:
 I'm sending you directly to the source for this recipe since I only made a few minor changes (I used 1% milk instead of 2%, I didn't have almonds for the streusel, and I just skipped the glaze part because I just wanted to get to eating them). In the end, all I have to say is that you HAVE to try this recipe. If you don't, you will die an incomplete existence. :)
 I'm on a roll this month... two dinner posts in 2 weeks. That's more than I've posted all year! Anyway, last week the hubs and I stopped in Wegman's and realized how much better their produce is than our local Shoprite and Acme stores. It was sort of an inspiration to pick a bunch of new recipes and head to Wegman's for the ingredients. One of the recipes I chose was from one of my favorite Food Network chefs, Ellie Krieger. I got a couple of her cookbooks, of which 3 of this week's dinner recipes are coming from. Tonight's dinner was from The Food You Crave. If you don't have her cookbooks, I highly recommend hers. Her recipes are always so balanced in nutrition and flavor. Granted, I always add a bit more salt to my recipes, but I'd rather it taste good than feel like I have to force-feed myself bland, healthy food.
 One of the first things I changed about her recipe was the tomato sauce. Her recipe calls for the tomato sauce which she has a recipe for in the book. I wanted to make this dish as simple as possible, so I just used crushed tomatoes and added some Italian seasoning, a pinch of salt here and there, and some crushed red pepper to add some flavor. These simple changes really elevated the flavor in this dish and I was more than pleased with the way this dish turned out. Which says a lot because..... I thought I hated mushrooms! Back to the Wegman's thing, their portobello mushrooms were just perfect. And the organic mushrooms were the same price as the regular, so that was a no-brainer decision.
 PORTOBELLO MUSHROOM LASAGNA ROLLUPS
Adapted from: Ellie Krieger's The Food You Crave
10 lasagna noodles
2 tsp olive oil
2-3 portobello mushrooms (stems and gills removed), chopped
1 can crushed tomatoes with basil (use an extra can and season accordingly if you like extra sauce)
kosher salt
Italian seasoning
crushed red pepper
one 15 oz. container part-skim ricotta cheese
one 10 oz. package frozen, chopped spinach, thawed & squeezed dry
1 large egg
black pepper
parmesan cheese
1 cup grated mozzarella cheese 1. Preheat oven to 375 degrees.
2. Cook lasagna noodles according to package directions. Drain and lay flat on parchment paper.
3. Heat oil over medium-high heat. Add chopped mushrooms and cook, stirring occasionally, until moisture has evaporated. Add a pinch of salt, a touch of Italian seasoning, crushed red pepper to taste, and 1-2 ladles of crushed tomato straight out of the can. Simmer about 2 minutes. Remove from heat.
4. In a medium bowl, whisk egg and ricotta cheese together. Add a pinch of salt and black pepper to taste. Stir in spinach.
5. Spread 1 ladle of crushed tomato straight from the can in the bottom of a 9x13 baking dish.
6. Spread about 2 Tbsp of the ricotta mixture along the length of a lasagna noodle. Spoon about 2 Tbsp of the mushroom mixture on top of the ricotta mixture on the lasagna noodle. Roll the noodle and place in baking dish, seam side down. Repeat for remaining lasagna noodles.
7. With your remaining crushed tomatoes, add a pinch of salt, Italian seasoning and crushed red pepper to taste directly to the can. Stir until combined. Ladle the seasoned crushed tomatoes over your lasagna rollups.
8. Top with a sprinkle of parmesan cheese over each rollup. Top with grated mozzarella.
9. Top with foil and bake for 45 minutes. Remove foil and bake an additional 10 minutes or until the mozzarella is lightly browned. I made this dinner after a long day of work on my feet and it was a cinch. I even did some of the dishes before I went to sit down! I was admittedly a little nervous about whether I would like this or not - mainly because of my fear of mushrooms, but alas, I was more than pleasantly surprised to find how much I (and the hubs!) liked this dish. And I'm even happier considering the vegetables that are incorporated into it. I need to eat more vegetables and this is a great way to do so. I hope you enjoy this one as much as we did!
 Do I still have any readers out there? If so, hello! In any case, I just made up my own recipe! With inspiration from a few others. And it turned out pretty FAB. And it was still daylight when it was done cooking, so I was able to snap a few good pics of tonight's dinner to share with you :)
 I had lunch with a few classmates (over the course of my "vacation" I completed the esthetics program at Jean Madeline, and well, I took an actual vacation, too!) to celebrate the end of our course. Living in Philadelphia is quite dandy for being a foodie. And Jean Madeline being in South Philly was quite dandy for trying the food at Bridget Foy's. There was one item on the menu a few of us were drawn to, that being the Mac and Cheese made with a four cheese bechamel with a potato chip crust. Sounded pretty amazing, until one of the waitresses said it wasn't her fave thing on the menu, so I changed my mind and ordered the burger (which was pretty freaking awesome). My friend, Maria, asked for an appetizer portion anyway and let us all try it. And after that I was kinda kicking myself in the ass for having doubted the mac and cheese.
Then I saw Stephanie blogged a mac and cheese with mascarpone and mozzarella and I was INSPIRED. I starred that recipe for reference later on and so today was finally the day to put my own spin on it. I was inspired by her use of mascarpone. I've only ever encountered it in tiramisu (one of my fave desserts of all time). Her recipe reminded me of the cheesy heaven I had at Bridget Foy's. So I started doing some research. I saw Stephanie tweaked her recipe from a Cooking Light recipe which originally called for fontina. That was also intriguing. Then I read a review from somebody who didn't like the "stinky" smell of the fontina. Which then reminded me of how disappointed I was in a risotto once when I used parmagianno romano (to me, a "stinky" cheese). Then I read that gruyere was a good substitute for fontina, which I was familiar with after using it in a fondue once. So then I googled "four cheese mac and cheese" to try to find a good basis to start with. I found this one from Emeril and took a few bits and pieces from him as well. And here is the recipe I ended up, which was, AMAZING, and incredibly easy!
 FOUR CHEESE MACARONI
Source: me, inspired by Stephanie, Cooking Light, Bridget Foy's & Emeril
1 pound pasta (I used Barilla Pipette because I thought the shape was fun)
4 Tbsp salted butter
4 Tbsp all-purpose flour
2 cups milk (I used 2% only because my store was out of 1/2 gallons of 1%)
3/4 tsp salt
1/4 tsp white pepper
5 good shakes of Tabasco sauce
1/3 cup grated parmesan cheese (yes, from the plastic jar)
4 oz gruyere cheese, grated
4 oz mascarpone cheese
8 oz extra sharp cheddar, grated
2-3 large handfuls of Lay's lightly salted potato chips, crushed (just eyeball it)
-----
1. Preheat oven to 350 degrees.
2. Cook pasta according to package directions. Meanwhile...
3. Melt butter in skillet over low heat. Whisk in flour and continue stirring over low heat for 3 minutes.
4. Gradually whisk milk into flour mixture, stirring continuously over medium heat for about 5 minutes, until thickened. Remove from heat.
5. Stir in salt, pepper, tabasco and the parmesan, gruyere and mascarpone cheeses until melted. Stir in a small handful of the sharp cheddar, reserving the rest.
6. Drain pasta. Return hot pasta to pot. Pour bechamel over hot pasta. Stir to coat.
7. Spray a 9x13 dish with nonstick cooking spray.
8. Layer 1/3 of cheesy pasta into bottom of dish. Layer 1/2 of the remaining sharp cheddar. Layer the second 1/3 of cheesy pasta. Top with remaining sharp cheddar. Top with crushed potato chips.
9. Bake for 40-45 minutes or until bubbly and golden.
This really was one of the greatest dishes I've ever made. I'm pretty proud of it. I have a track record of screwing up my mother-in-law's macaroni and cheese recipe so I'm beyond thrilled to have come up with my own mac and cheese recipe that I'll continue to make through the years and hopefully pass on to my potential children and their potential families.
One change I will TRY next time is to stir in ALL of the cheeses, including the sharp cheese, so that the bechamel has that melty, stringy texture, assemble the dish, and broil it for a few minutes for the top to get golden. The only thing I noticed was that the melty, stringiness went away after the bechamel was baked into the pasta. So I think I'll try it this way next time and decide which method I like better then.
 Do you have Tastykake near you? If you don't, you're missing out. They're a bakery business based out of Philadelphia. I think they pretty much only distribute to the Tri-State area. One of my favorite Tastykake treats are the Peanut Butter Tandy Cakes. A couple of years ago I was introduced to the homemade variety. HOLY COW were these things good. I was addicted. They're so FRESH. Way better than the mass produced variety. But I think that's true with almost anything homemade.
 I made my best friend get the recipe from her mom's best friend. I went and bought a jelly roll pan because I have to follow the rules. And I've made more than a dozen batches of these things for various occassions over the last year. This Christmas was the first time I brought them to my family's annual Christmas Eve party. And people were basically fighting over who was taking how many home (admittedly, I was one of those people).
 So if you ever need a cake fix, chocolate fix, peanut butter fix, or all 3, then you need to try this recipe! You can find varying recipes on the internet with basically the same ingredients. I've had success with these ingredients and steps:
 4 large eggs
2 cups sugar
1 tsp vanilla extract
2 Tbsp oil (canola or vegetable)
1 cup milk
2 cups flour
scant 1 tsp baking powder
1 to 1- 1/2 cups creamy peanut butter
1 bag milk chocolate chips
 1. Preheat oven to 350 degrees.
2. In a small bowl, whisk together the flour and baking powder. Set aside.
3. In a large bowl, beat together the eggs, sugar, vanilla and oil. Stir in the milk until incorporated.4. Stir the flour mixture into the batter until blended in.
5. Grease and flour a 10 x 15 jelly roll pan. Pour batter into pan and transfer to preheated oven.
6. Bake for 20-30 minutes, depending on your oven (Mine have taken 23 minutes, other times 28 minutes), until a toothpick inserted comes out clean.
7. While the cake is hot, plop on spoonfuls of the peanut butter and spread gently. This can be assisted by placing the cake with peanut butter on it into the turned off oven for a short minute. Spread the peanut butter all the way to the edges. Transfer to fridge to set.
8. When the peanut butter is set, melt your chocolate chips on the microwave for 2 minutes at high power, stirring at 30 second intervals. Pour melted chocolate over the cake and spread to the edges. Transfer to fridge to set.
TIP: When the chocolate has set up some, it is a good idea to score the chocolate where you will be making the slices so that the chocolate doesn't crack.
Just be sure that when you cut these up to serve that you set some aside for yourself to enjoy later!