Showing posts with label blueberry. Show all posts

Monday, July 5, 2010

Perfect Blueberry Pie


My first attempt at a totally from scratch blueberry pie was a miserable FAIL. I tried to ward off liquid-pie syndrome by adding 2 extra tablespoons of cornstarch to the blueberry mixture (which was essentially, blueberries, sugar, cornstarch, cinnamon). This technique didn't work because the natural liquid from the berries took too long to combine with the cornstarch to help solidify the juices. In the end, it resulted in a liquidy, grainy disgusting mess.


After the first fail, I realized that what I was looking for was a recipe that would give me the consistency of pie filling, like the kind you can buy in a can at the grocery store. I knew that I would need to cook the blueberries with the sugar and cornstarch BEFORE adding it to the pie crust.


Everybody remembers that Google is my friend. The lightbulb went off and told me to Google "blueberry pie filling." One of the first results was a recipe from Recipezaar which had 5 stars and enough raving reviews that led me to believe that this was exactly what I was looking for.


As you have probably already noticed, this recipe was a major success. I now consider myself a pie baking QUEEN. Ok, maybe not in a general sense. But a blueberry pie baking queen for sure!


Now that we have the filling out of the way, I can tell you how I came to the most perfect homemade pie crust. The past from-scratch pies I've made I noticed that for my taste, the crust was never sweet enough. I don't like it sickeningly sweet, but just enough to complement the fact that it's a dessert. And for me, the taste of the crust is mega-important because the bottom crust is my ultimate favorite part of a pie.


So I basically had two pie crust recipes I was staring at, one of which called for no sugar, the other of which called for 2 tablespoons. I knew in my heart that 2 tablespoons wasn't enough. Further disecting of the two recipes showed a different ratio of flour-to-shortening. I decided to go in between.


And so here is my recipe for PERFECT PIE CRUST:

2 cups all-purpose flour, plus extra for rolling
4 Tbsp sugar (it's really the same as 1/4 cup, but it doesn't sound as bad :D)
1 tsp salt
3/4 to 1 cup shortening (and by this I mean I took a 1 cup measuring cup and didn't quite fill it up all the way, but to where I knew it was more than 3/4 cup and less than 1 cup)
1 egg
1/2 Tbsp white vinegar
3 Tbsp water
-----
1. In a large bowl, whisk together the flour, sugar and salt. Add the shortening and blend together with a pastry blender until it resembles coarse meal.
2. In a small bowl, whisk together the egg, vinegar and water. Add the egg mixture to the flour mixture and stir gently until it just comes together.
Tip: You may need to work a little extra flour into the dough as you're rolling it. I did, but I don't know how much. Maybe by adding 1-2 extra tablespoons of flour from the get-go would work, but at first, the dough just seems a little soft. Chilling might work well also.)


And here is the recipe for PERFECT BLUEBERRY PIE FILLING
Source: adapted from Pastryismybiz via Recipezaar

2 pints (4 cups) fresh blueberries, rinsed clean
1 cup sugar
3 Tbsp plus 1 tsp cornstarch
2 Tbsp plus 3 Tbsp water
1/4 tsp cinnamon
1/8 tsp nutmeg
-----
1. In a medium saucepan add 1-1/2 cups of blueberries, sugar and 2 Tbsp water. Cook over low heat, gently mashing the berries, and simmer until sugar is melted and mixture is liquidy.
2. In a small bowl, mix together the cornstarch with 3 Tbsp water.
3. Add cornstarch mixture to berry mixture. Cook over medium heat until mixture comes to a boil and is thickened and no longer cloudy, 3-5 minutes.
4. Pour hot mixture into a bowl. Allow to cool to a warm temperature. Fold in remaining blueberries, cinnamon and nutmeg. Let cool before adding to pie crust.


And to put it all together, you want to preheat your oven to 400 degrees. Reduce heat to 375 degrees when you put the pie in the oven. Bake for 40 minutes, checking midway through to make sure the edges aren't burning. If they're getting too brown, cover edges with foil. Let cool before serving.


Ta-da! You should have a beautiful pie that you just can't wait to show somebody!


Special thanks to the hubs for rolling out the dough and cutting my lattice strips! xoxo!

Berry Picking & Blueberry Pie Attempt #1 FAIL

Last Thursday we had a 2 day reprieve from the third heatwave of the season and we were blessed with a beautiful 80 degree day. The hubs and I decided to take a trip back up to Solebury Orchards. We took our first trip last Fall after we visited their stand at the Morris Arboretum. Solebury has AMAZING apple cider. But this week was prime picking for blueberries. I've never in my life been berry picking before so this was sure to be an adventure. And I'd never seen blueberries on the bush. For all I knew, they came in my grocer's freezer and were susceptible to freezer burn (I kid, I kid).

I was expecting to be walking through mounds of mushed berries on the ground (that's kinda what happens when you have some random berry tree in Philly). So I was suprised at how neat the orchard was.


And at how beautiful blueberries on the bush really are.


And at how even though I saw these little buggers:


I wasn't bothered by bugs at all!

During our blueberry picking there were several excited children there who repeatedly exclaimed, "OH GUYS! It's BLUEBERRY HEAVEN OVER HERE! It's blueberry HEAVEN!" They were right though.


But they also didn't know how to read the signs.


The raspberry picking wasn't very good.


And the blackberries weren't necessarily ready to be picked, but the hubs found a nice little bounty of them (note: there was no sign saying not to pick the blackberries).


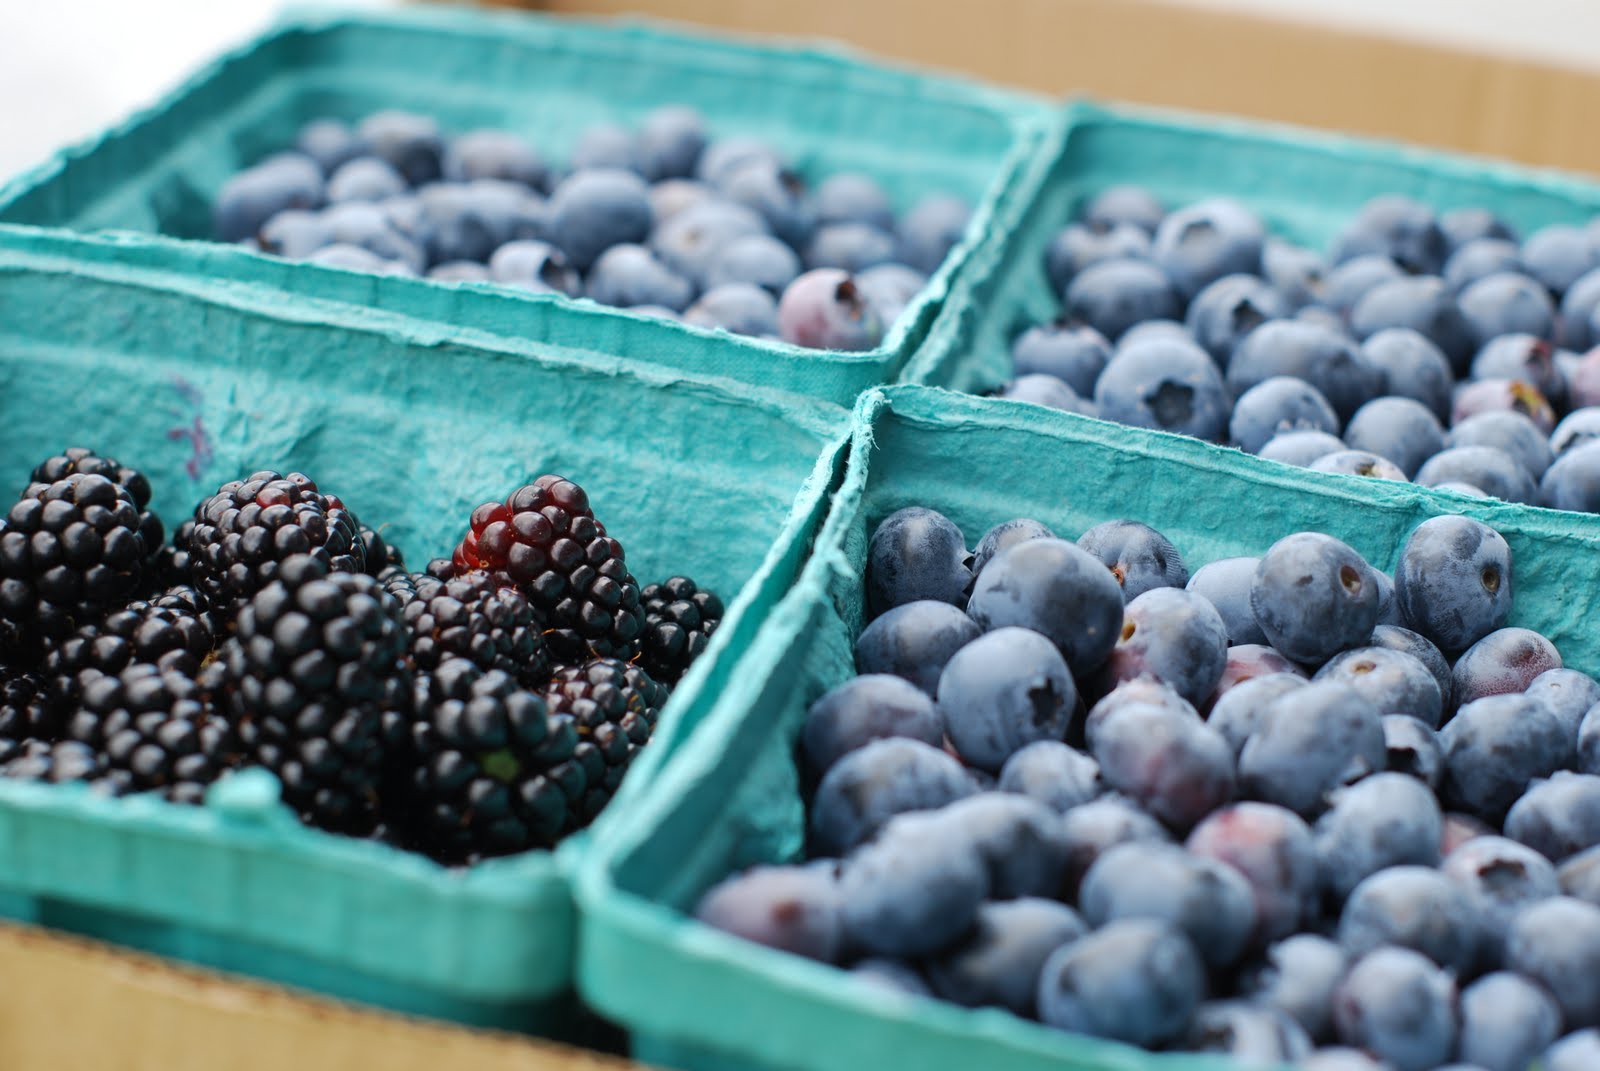
We ended up bringing home a ton of blueberries and a pint of blackberries for snacking on.


So we came home and did some research on blueberry recipes. We figured we'd get the most use out of them by trying to make a pie. In my experience, I haven't been too successful with pies. They're just never as good as anything I can buy in a store. And I proved myself right again with this attempt.


Not only was it super liquidy, but the cornstarch and sugar that was mixed with the blueberries created a very unpleasant texture. But MYGOD was it pretty (before we cut into it)!


Stay tuned for Blueberry Pie Attempt # 2!

Friday, January 8, 2010

Ricotta Blueberry Pancakes


I'm a foodie. I watch the Food Network regularly. One of my newest favorite shows is The Best Thing I Ever Ate. There's just something so justifying about a Food Network chef declaring something as the best thing they ever ate. It's like, if you were to go eat the same thing, there's no way in the world you would be disappointed by it.

I happened to catch the breakfast episode where Aida Mollenkamp pronounced her love of some ricotta blueberry pancakes from BLD restaurant in Los Angeles. And just the week before my best friend mentioned that her husband was making her some ricotta pancakes. I was captivated.


I scoured the internet for a recipe that seemed like it was closest to BLD's as portrayed on the show and I chose this one. I was not disappointed in the least! And I've made some pretty $h!tty pancakes over the years! I'm pretty sure that whenever I'm going to make homemade pancakes again, I'm going to be choosing this recipe. They were light and fluffy (which is usually where I fail), and melt in your mouth. Basically, perfect. And considering I nailed these guys on the first try - how could I not revert to this recipe from now on??

So if you're looking for a simple yet decadent morning treat, why not try one of the best things you could ever eat?!


Since I made this recipe exactly as I found it, please click here for the recipe!

My only note will be that for my first pancake I must not have had the griddle hot enough. I had great results over medium heat, as you can see! I was able to cook 4 pancakes at once on my square griddle pan.

Ps. This recipe makes a ton of batter. If you're only cooking for 2, I recommend cutting the recipe in half.

Saturday, July 19, 2008

Blueberry Muffins


Once upon a Thursday I felt like baking something, so I delved into my file of recipes I've been wanting to try and came upon the blueberry muffin recipe from Cooks Illustrated. In an effort to make them healthier and after talking with Ashlee, I decided to sub 1/2 of the flour for a mixture of whole wheat flour and ground oatmeal.

This recipe is super simple to throw together, and the muffins came out super moist. And even better, they taste like a healthier muffin, but not in an "eww this is freaking nasty" kind of way.

BLUEBERRY MUFFINS, a little bit healthier
Adapted from Cooks Illustrated

1 cup unbleached all-purpose flour
1/2 cup whole wheat flour
1/2 ground oatmeal
1/2 tsp table salt
1 egg
1 Tbsp baking powder
1 cup granulated sugar (7 ounces)
4 Tbsp unsalted butter, melted and cooled slightly
1 1/4 cups fat-free sour cream (10 oz.)
1 1/2 cups frozen blueberries

-----

1. Adjust oven rack to middle position in oven and heat to 350 degrees.
2. Spray a standard muffin tin with nonstick cooking spray.
3. Whisk flour, whole wheat flour, ground oatmeal, salt and baking powder in a medium bowl.
4. In a second medium bowl, whish egg until well combined and light in color (about 20 seconds).
5. Add sugar to egg and whisk vigorously until thick and homogenous (about 30 seconds).
6. Add melted butter to wet mixture in 2 or 3 steps, whisking to combine after each addition.
7. Add sour cream to wet ingredients, whisking just to combine.
8. Add frozen berries to dry ingredients and toss gently to combine.
9. Add wet ingredients to dry ingredients and fold gently until batter comes together and berries are distributed evenly (about 20-30 seconds - small spots of flour may remain and batter will be thick).
10. Use an ice cream scoop or large spoon to drop batter into greased muffin tin.
11. Bake 25-30 minutes until light golden brown and toothpick inserted into center of muffin comes out clean.
12. Invert muffins onto wire rack, stand muffins upright, and cool at least 5 minutes.
Yield: 12 standard muffins

Friday, March 21, 2008

Scone? What's a scone?!


No, people, I've never had a scone. In my life. EVER. But alas, the day has come! I had about a half gallon of milk about to go bad. Basically my milk was dated today. I'm sure there are people like me; I hate to use milk past the date on the jug (I don't I've ever used the word 'jug' in my everyday life. Wow, another first!). I've wasted milk before, but I've never been ambitious enough to find a way to use up my kitchen and pantry items before they go bad. I don't know what came over me, but I knew if I asked my friend Katie, she'd have plenty of ideas for me to get rid of my almost-sour milk.

So I emailed Katie, and she came back with a few ideas, and I was like nah, that's not doing it for me, so then she wrote back with "blueberry scones." DING DING DING WE HAVE A WINNER! I knew I had all of the ingredients on hand at home (that's a first!).

I came straight home after work and immediately starting working on these babies. They turned out great!
BLUEBERRY SCONES

2 c. flour plus 2 Tbsp, plus 1 Tbsp
1 Tbsp baking powder
3 Tbsp sugar
1/8 tsp salt
6 Tbsp butter, plus 1/2 Tbsp, chilled
1 Tbsp vanilla
1 c. half and half, chilled (I used 1% milk with a few spoons of fat free vanilla yogurt)
2/3 c. frozen Maine wild blueberries (store brand frozen berries for me!)
-----
1. Preheat oven to 425 degrees and line a baking sheet with parchment (I used my silpat sheet).
2. In small bowl combine frozen blueberries and 1 Tbsp flour and toss to combine.
3. Place blueberry mixture back into freezer.
4. In large bowl, combine flour, baking powder, sugar and salt.
5. Take butter out of fridge, cut into chunks and add to flour mixture. Cut butter into flour until pea sized or smaller.
6. Add vanilla and half and half and mix in with a spoon until just barely incorporated.
7. Take blueberries out of freezer and knead into mixture until mixture forms a ball of sticky dough.
8. Turn dough out onto floured surface and pat down into rough 9-10 inch circle.
9. Cut into 8 triangles and place triangles onto prepared baking sheet at least an inch apart.
10. Take 1/2 Tbsp butter and cut into 8 small pieces. Place one small piece of butter on top of each scone.
11. Place in oven and bake for 15 minutes.
Let cool and enjoy. Now as I've said, I've never had a scone before in my life, so I don't have anything to compare mine to, but if I still wanted more after eating one, that must be good!